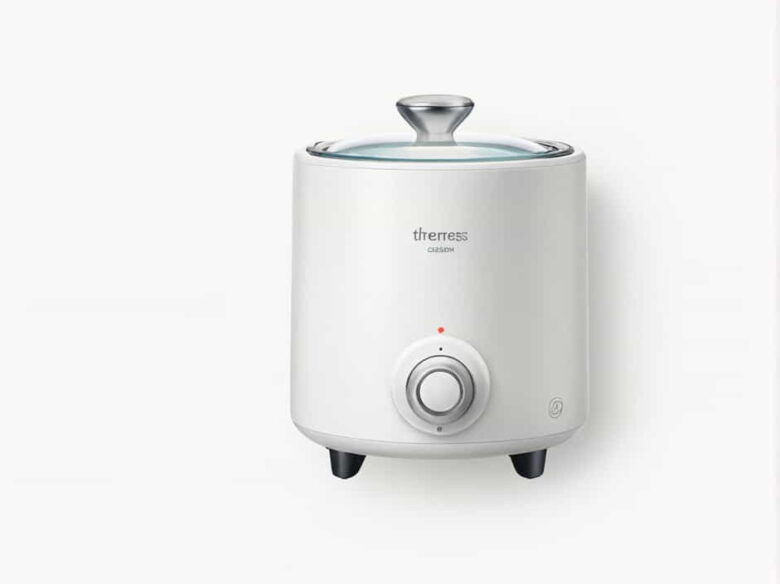
How to Clean a Tress Wellness Wax Warmer: A Complete Guide
Keeping your Tress Wellness wax warmer clean is essential for maintaining its performance and ensuring a hygienic waxing experience. Over time, wax residue can build up, making it harder to apply fresh wax and reducing efficiency. Below, we provide a step-by-step cleaning guide, maintenance tips, and eco-friendly solutions for a spotless wax warmer.
Why Regular Cleaning Is Important
Cleaning your wax warmer regularly prevents wax buildup, improves heat efficiency, and ensures a smooth waxing process. It also helps extend the lifespan of your device and prevents cross-contamination, especially in professional settings.
Step-by-Step Guide to Cleaning Your Tress Wellness Wax Warmer
Step 1: Turn Off and Unplug the Warmer
Always start by turning off and unplugging your wax warmer. Allow it to cool down but keep it slightly warm so that the wax is easier to remove.
Step 2: Remove Excess Wax
There are a few ways to remove leftover wax:
- Pour Out Liquid Wax: If the wax is still warm and in liquid form, carefully pour it into a disposable container.
- Cotton Pad Method: Place a cotton pad inside the pot while the wax is still soft. It will absorb most of the wax.
- Wax Hardening Method: Let the wax completely harden and then gently peel it off.
Step 3: Wipe the Interior
Use a soft cloth or paper towel to wipe away any remaining wax. If residue is stubborn, apply a small amount of baby oil, coconut oil, or mineral oil and let it sit for a few minutes before wiping.
Step 4: Deep Clean with an Approved Cleaner
To thoroughly clean your wax pot, use one of the following:
- Isopropyl Alcohol (70% or higher): This is the most effective way to remove sticky wax residue. Apply it to a cloth and wipe the interior.
- Vinegar and Baking Soda: Mix equal parts vinegar and baking soda to create a natural cleaning paste. Apply it, let it sit for 5 minutes, and then scrub gently.
Step 5: Clean the Exterior
Wipe the outer surface of the wax warmer with a damp cloth. Avoid using abrasive materials to prevent scratches.
Step 6: Dry and Reassemble
Ensure the wax pot is completely dry before reassembling and plugging it back in.
Maintenance Tips for Longer Lifespan
- Clean After Every Use: Regular cleaning prevents hard-to-remove residue.
- Use Wax Collars: These disposable rings help catch excess wax and minimize spills.
- Avoid Overfilling: Too much wax can lead to messier cleanups.
- Store Properly: Keep your wax warmer in a cool, dry place when not in use.
Eco-Friendly Cleaning Alternatives
If you prefer natural cleaning solutions, try:
- Lemon Juice: Helps dissolve wax while leaving a fresh scent.
- Reusable Cloths: Instead of paper towels, use microfiber cloths to reduce waste.
Troubleshooting Common Issues
Wax Warmer Not Heating Properly
- Check the power cord and plug for any damage.
- Make sure the temperature settings are correct.
- If the problem persists, contact Tress Wellness customer support.
Leftover Wax Stains or Discoloration
- Use baking soda and vinegar to scrub stubborn stains.
- Avoid using harsh chemical cleaners that may damage the wax pot.
Wax Hardening Too Fast
- If wax cools too quickly, keep your warmer at a slightly higher setting before applying.
Frequently Asked Questions
1. How often should I clean my wax warmer?
After every 2-3 uses, or whenever there is noticeable wax buildup.
2. Can I put my wax warmer in the dishwasher?
No, most wax warmers are not dishwasher-safe due to electrical components.
3. What should I do if wax spills on the outer surface?
Wipe it immediately with a warm, damp cloth. For dried wax, use oil to loosen it.
4. Is it safe to leave my wax warmer on all the time?
No, always turn off and unplug your device when not in use.
By regularly cleaning your Tress Wellness wax warmer, you can keep it functioning efficiently and ensure a more hygienic waxing experience. Using the right cleaning methods whether with alcohol, vinegar, or oil will prevent wax buildup and prolong the life of your device. Follow these steps, and your wax warmer will always be ready for your next hair removal session!